Why Tripawd Dog Strollers by Burley Get 3-Paws Up From Us
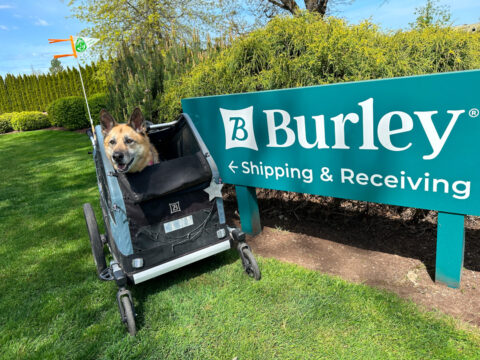
The Bark Ranger dog stroller is a Tripawd ride built to last, and from today through Memorial Day you can save 20 percent on yours.
Tripawds three legged dog and cat help support community member blogs documenting pet amputation recovery and care
The Bark Ranger dog stroller is a Tripawd ride built to last, and from today through Memorial Day you can save 20 percent on yours.
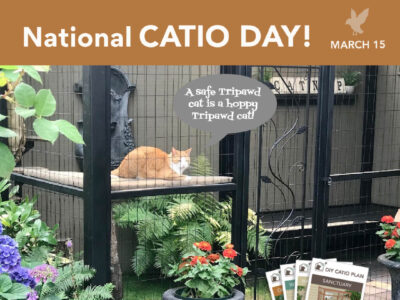
On National Catio Day, here’s how to keep your outdoor Tripawd cat safe with a Catio Space DIY plan anyone can build! Save ten percent off.
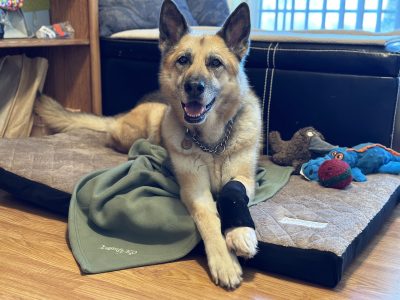
Tripawd Tuesday Queenie inspires with her resilience after amputation, showing that love and determination help pets thrive on three legs.
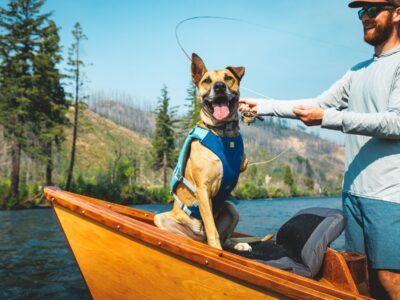
Adventure dog Tapeats tests the best Tripawd life jacket, the Confluence by Ruffwear, a safer and more secure gear for water loving canines.
See how the new Tripawds Support Circle brings exciting, user-friendly help and answers with easy discussion tools for members.
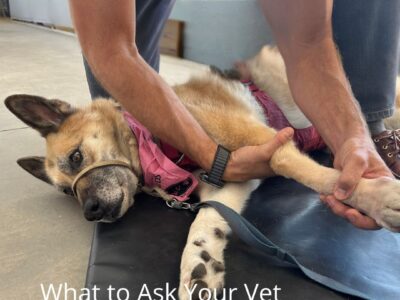
Download our “Best Questions to Ask About Amputation Surgery” checklist if your veterinarian recommends leg amputation for your dog or cat.
The Komfy K9 dog bed is Tripawd Approved for superior orthopedic support and comfort with adjustable firmness and interchangeable cover.
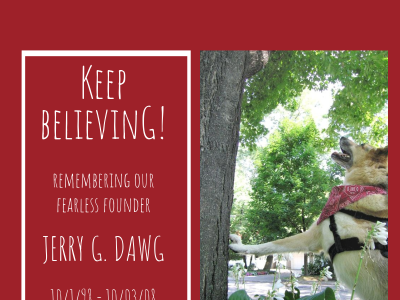
Jerry’s legacy lives on! Today marks 16 years since we said goodbye to our fearless founder, and his work continues making a difference.
Meet our hero of the week in today’s Tripawd Tuesday, Nova the senior bulldog. She shows how to be resilient and strong in life.
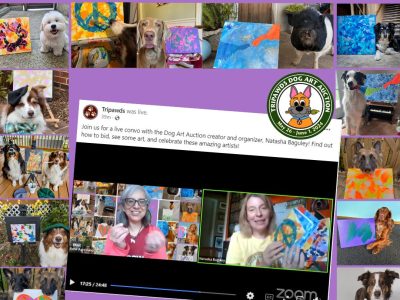
Watch our 2024 Tripawds Auction Celebration on Facebook, get to know how the auction works, why we do it, and how you can get your art too!